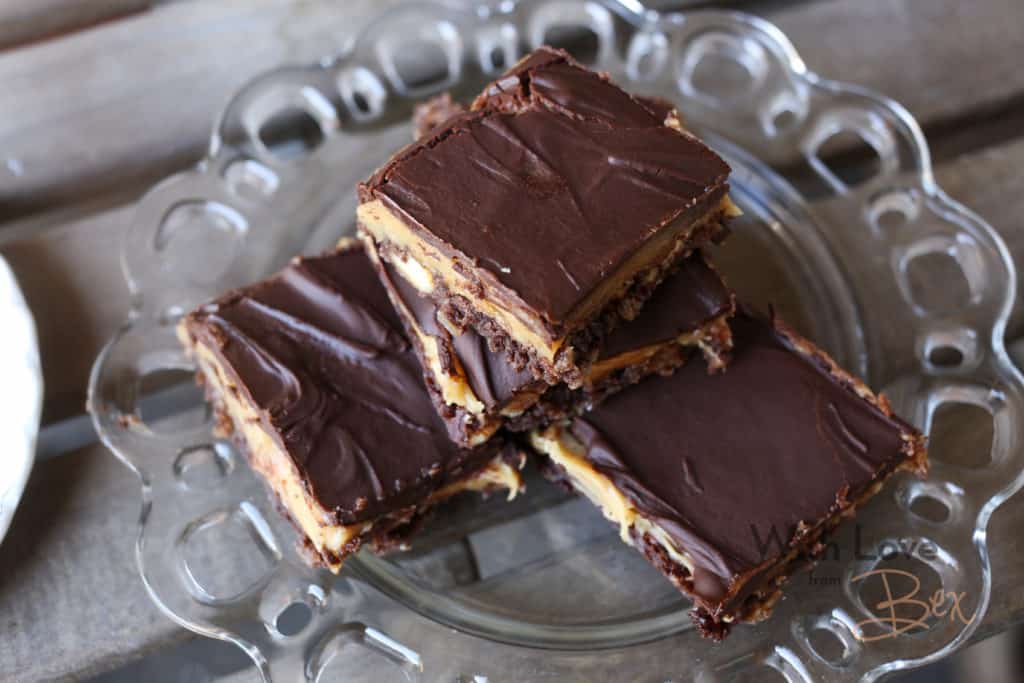
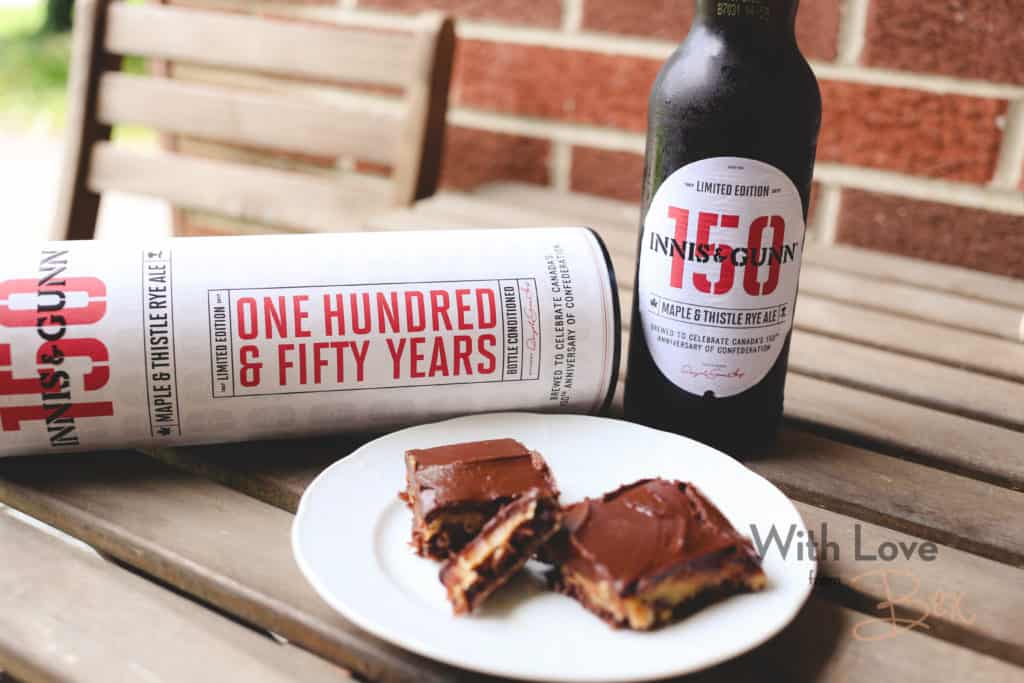
Did you know that Nanaimo Bars are a special Canadian treat? It’s named after the city of Nanaimo, British Columbia on Vancouver Island and it’s amazing. So I thought, here why not make a special version of these special treats for Canada Day. So I present you with the Peanut Butter Bacon Nanaimo Bar. It’s by no means healthy or clean but it’s tasty and goes great with a beer. Plus it’ll make you super popular this weekend.Here’s what you’ll need:
For the Base
3/4 cup of salted butter, melted
2 eggs
1/2 cup of sugar
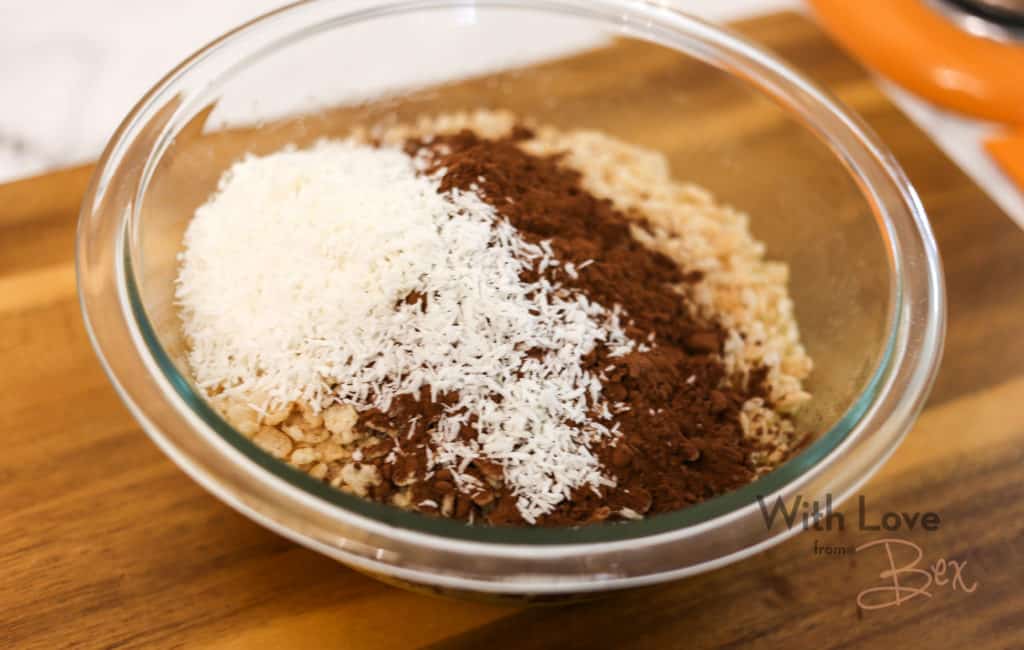
2 cups of rice crispies cereal
1/2 cup almonds, finely chopped
3/4 cup of shredded coconut
1/3 cup cocoa powder
For the Filling
1 cup of peanut butter, smooth
1/4 cup of salted butter
pinch of sea salt
2 cups of powdered sugar
1/3 cup of milk
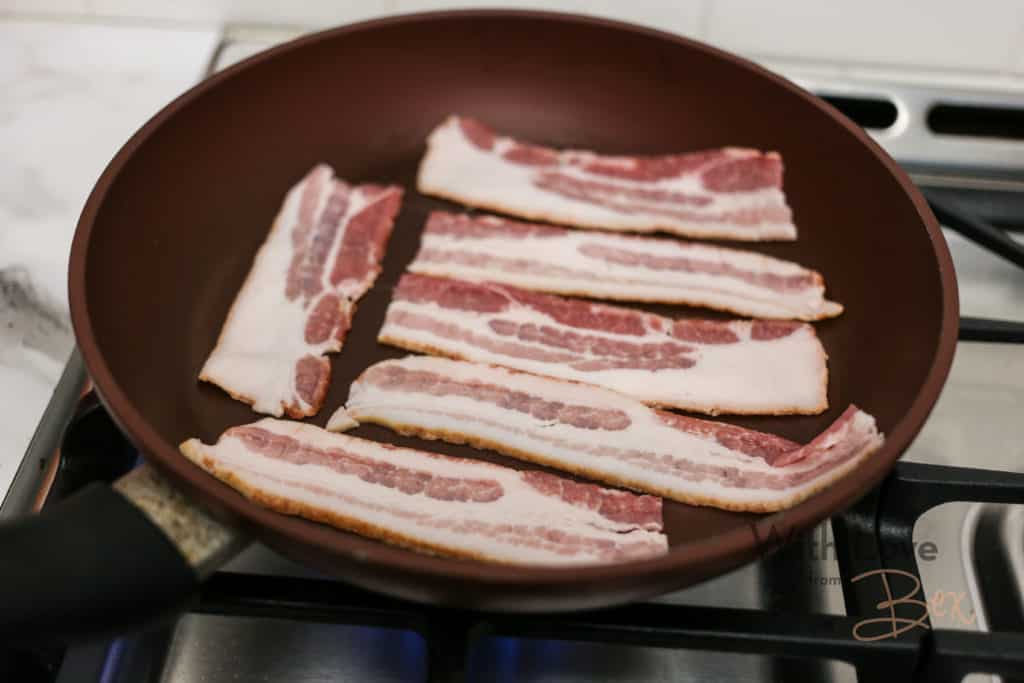
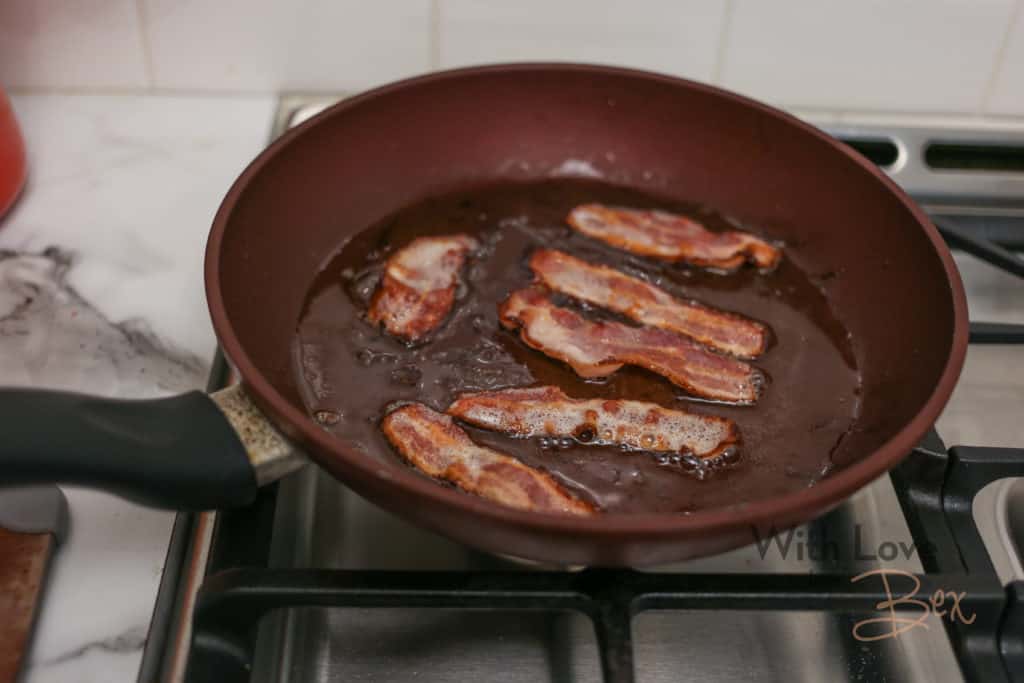
6 strips of bacon, chopped
For Topping
7 ounces of semi-sweet chocolate
1 1/2 Tbsp unsalted butter
Preheat your oven to 350 degrees F. In a frying pan, cook your bacon until crispy. Set aside and let cool completely.

Make the base first. Most Nanaimo bars require no baking but I wanted to bake my base rather than mix all the ingredients in a pot on the stovetop.
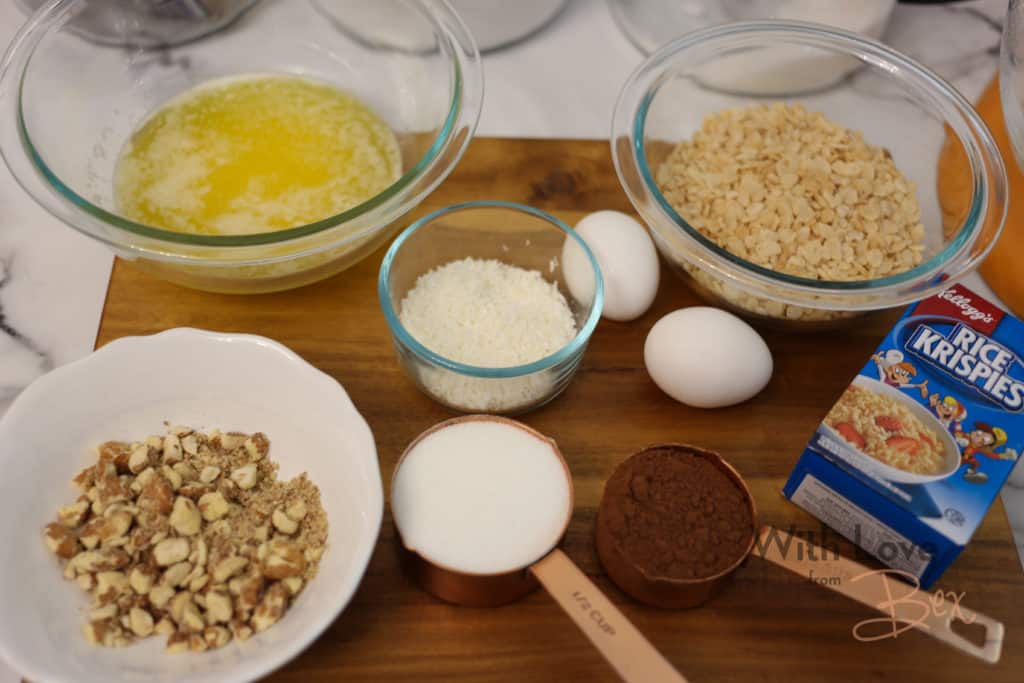
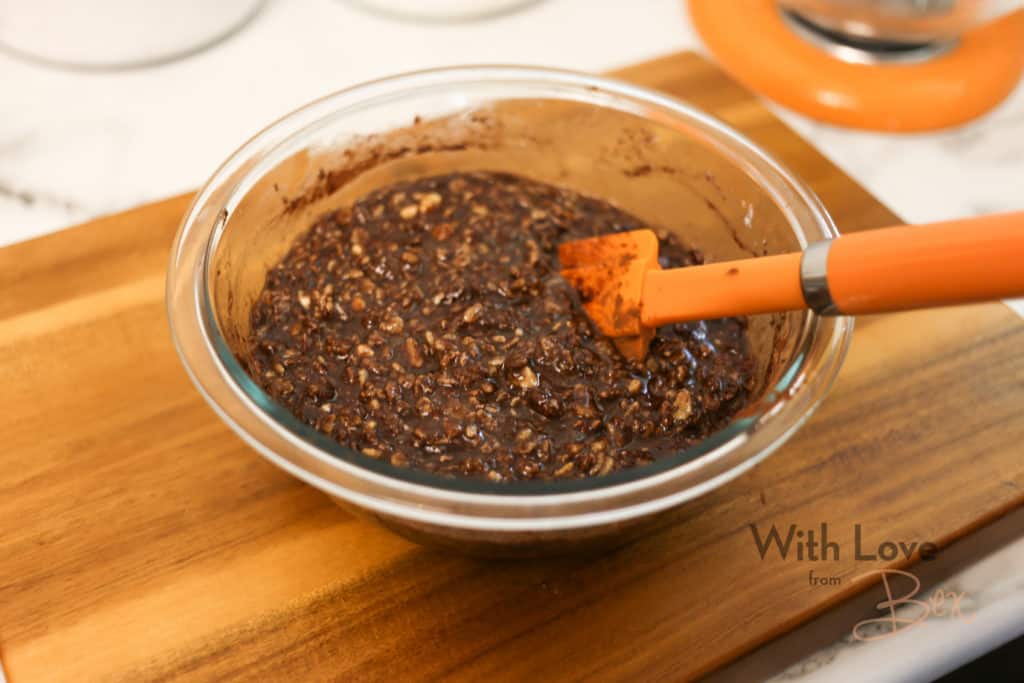
In a large bowl, whisk the melted butter and sugar. Then whisk in the eggs, one at a time.

With a spatula, stir in the rice crispies cereal, the almonds, shredded coconut, and the cocoa powder. Mix until it is completed combined
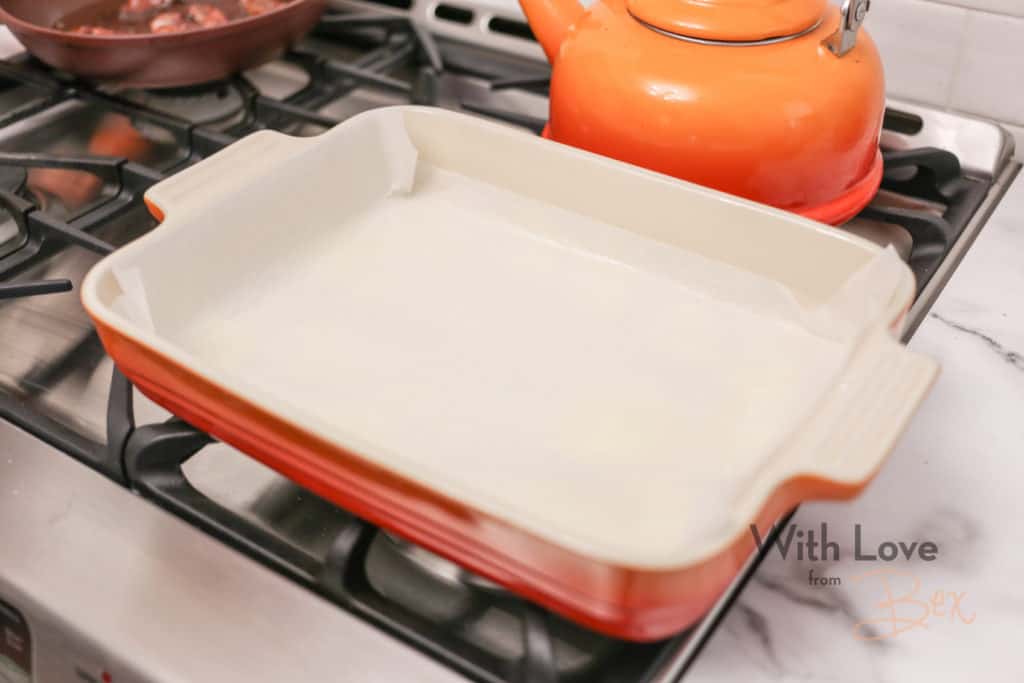
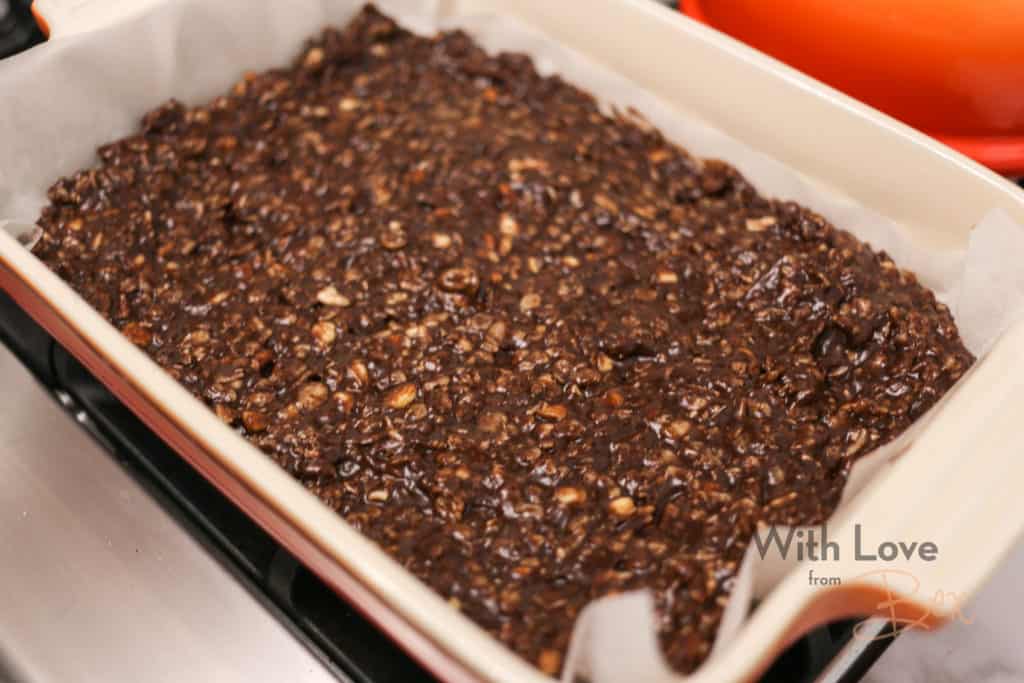
Using parchment paper, line a 9×3 inch baking pan. Flatten out the base mixture into the prepared baking pan.
Bake for 15-20 minutes. Remove from oven and let cool completely before beginning your filling layer.
For the filling layer, heat the peanut butter and butter together. You can use a microwave or stovetop. Melt until is it completely melted together
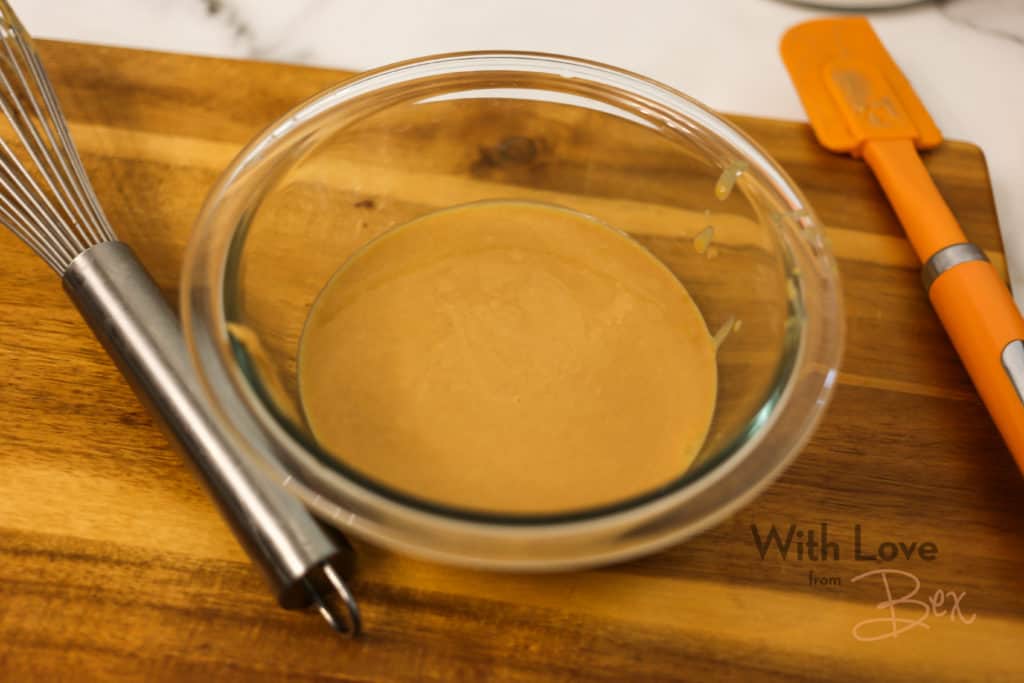
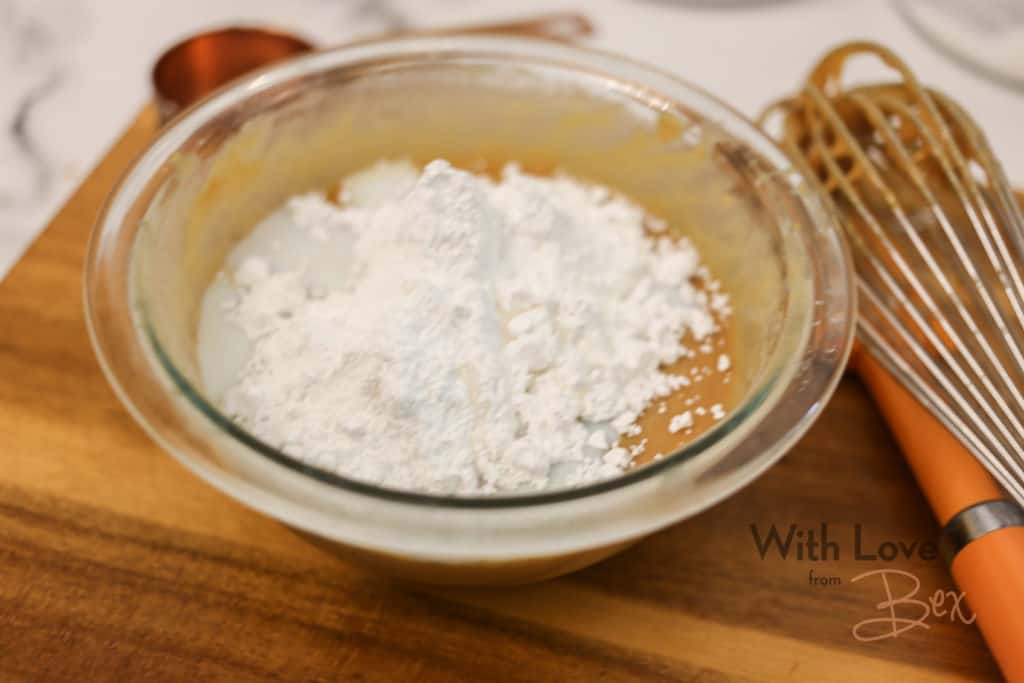
Whisk in the powdered sugar 1/2cup at a time. Each time pouring a little milk into the mixture to help stir. Keep alternating until completely smooth.
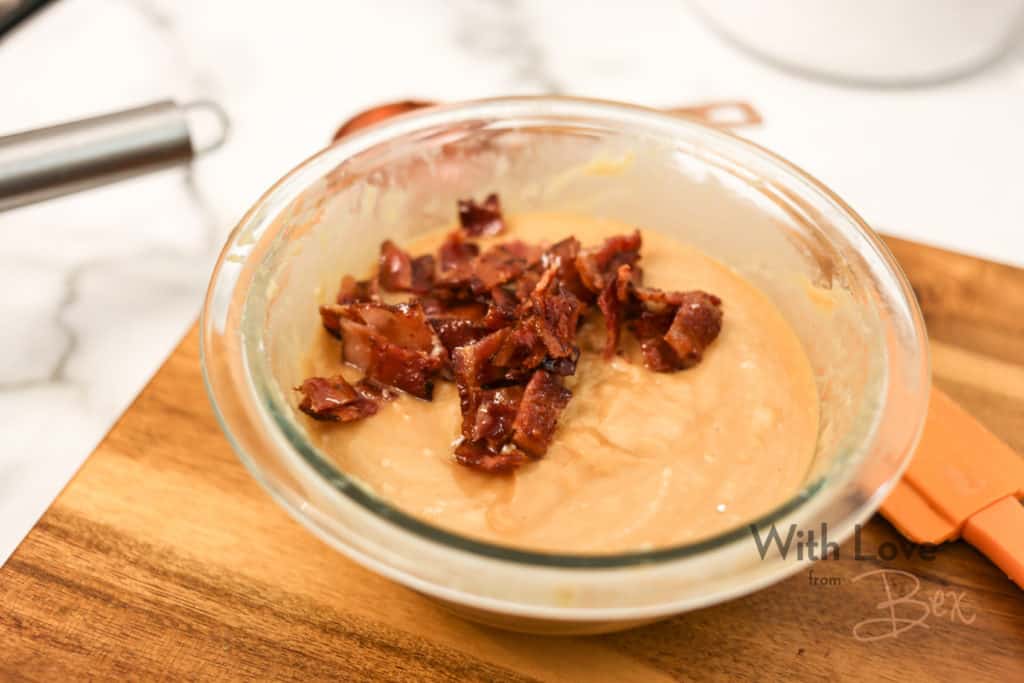
Add in the chopped pieces of bacon that you cooked earlier and cooled,
Spread the filling over the base and place in the refrigerator for 1-2 hours. You want the filling to be firm to the touch.

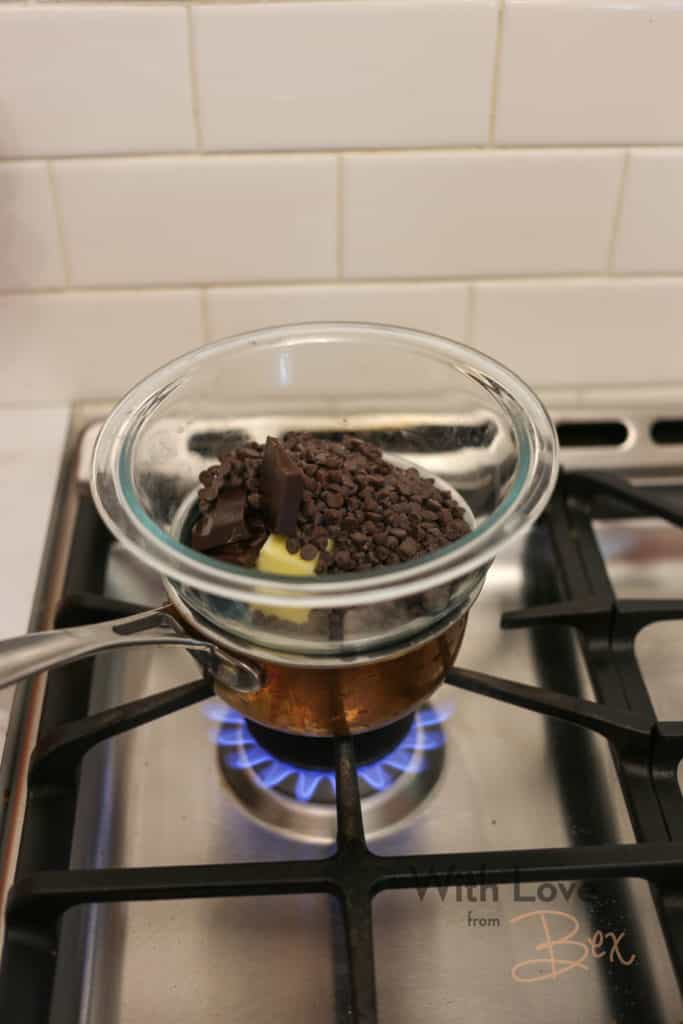
For the topping, use a double boiler to melt the chocolate and butter together. If you don’t own a double boiler, microwave the chocolate and butter for 1 minute first, then in 15-20 second intervals, keep your eye on it. Chocolate can burn easily.
Once melted together, pour over the filling and let it set completely before cutting into it. 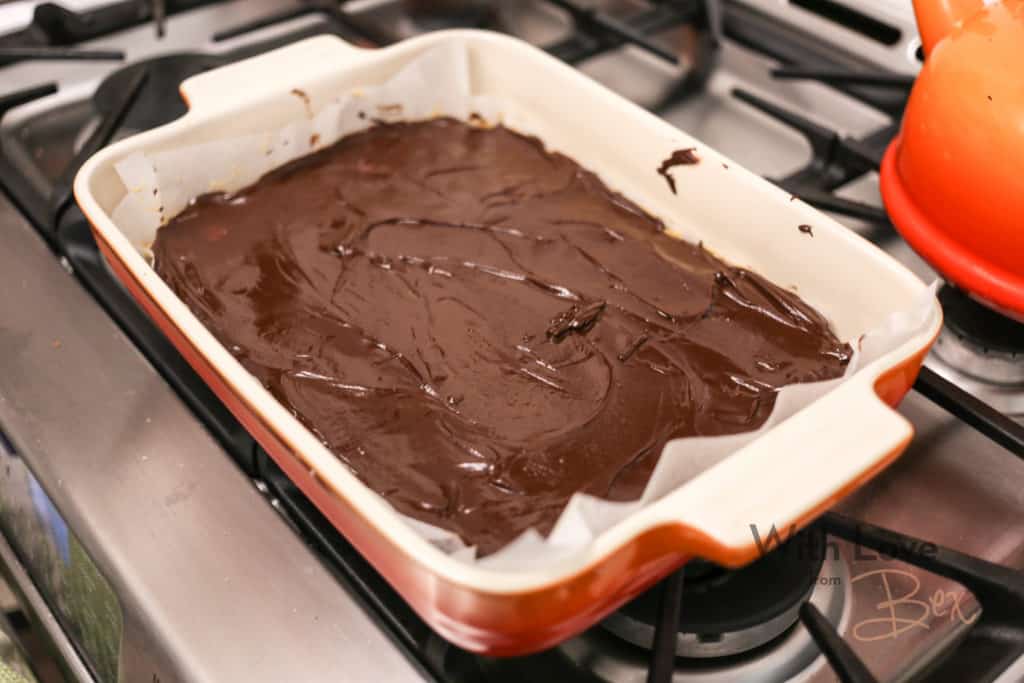
Remove from refrigerator and cut with a sharp knife. I usually run my knife under hot water before cutting into these. I find it helps with smoother cuts. 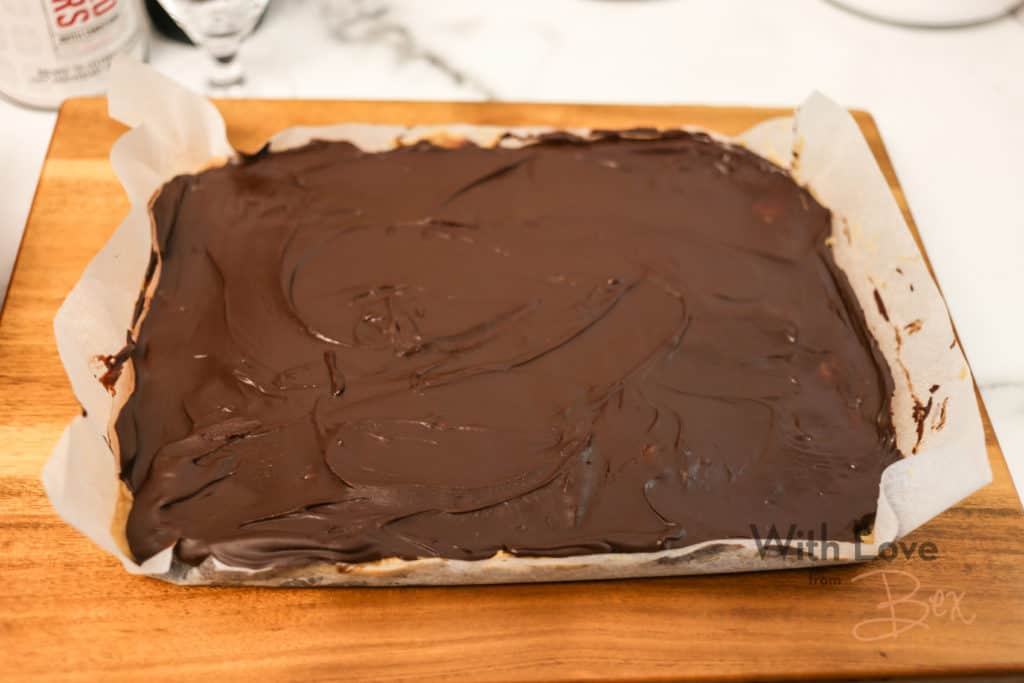
So there you have it, the peanut butter bacon Nanaimo bar, just in time for your Canada Day celebrations. Enjoy these babies with a beer or serve them at your next bbq, they won’t disappoint. Let me know what you guys are doing to celebrate Canada Day. If you make a batch of these goodies, post them on Instagram and tag me (@withlovefrombex) I love seeing your creations.
Print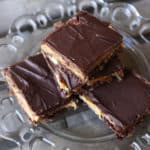
Peanut Butter Bacon Nanaimo Bars
- Total Time: 2 hours 20 mins
- Yield: 24 1x
Description
A twist on a Canadian classic
Ingredients
- For the Base
- 3/4 cup of salted butter, melted
- 2 eggs
- 1/2 cup of sugar
- 2 cups of rice crispies cereal
- 1/2 cup almonds, finely chopped
- 3/4 cup of shredded coconut
- 1/3 cup cocoa powder
- For the Filling
- 1 cup of peanut butter, smooth
- 1/4 cup of salted butter
- pinch of sea salt
- 2 cups of powdered sugar
- 1/3 cup of milk
- 6 strips of bacon, chopped
- For Topping
- 7 ounces of semi-sweet chocolate
- 1 1/2 Tbsp unsalted butter
Instructions
- Preheat your oven to 350 degrees F. In a frying pan, cook your bacon until crispy. Set aside and let cool completely.
- Make the base first. Most Nanaimo bars require no baking but I wanted to bake my base rather than mix all the ingredients in a pot on the stovetop.
- In a large bowl, whisk the melted butter and sugar. Then whisk in the eggs, one at a time.
- With a spatula, stir in the rice crispies cereal, the almonds, shredded coconut, and the cocoa powder. Mix until it is completed combined
- Using parchment paper, line a 9×3 inch baking pan. Flatten out the base mixture into the prepared baking pan.
- Bake for 15-20 minutes. Remove from oven and let cool completely before beginning your filling layer.
- For the filling layer, heat the peanut butter and butter together. You can use a microwave or stovetop. Melt until is it completely melted together
- Whisk in the powdered sugar 1/2cup at a time. Each time pouring a little milk into the mixture to help stir. Keep alternating until completely smooth.
- Add in the chopped pieces of bacon that you cooked earlier and cooled,
- Spread the filling over the base and place in the refrigerator for 1-2 hours. You want the filling to be firm to the touch.
- For the topping, use a double boiler to melt the chocolate and butter together. If you don’t own a double boiler, microwave the chocolate and butter for 1 minute first, then in 15-20 second intervals, keep your eye on it. Chocolate can burn easily.
- Once melted together, pour over the filling and let it set completely before cutting into it.
- Prep Time: 2 hours
- Cook Time: 20 mins
- Category: Dessert
- Cuisine: Canadian
Happy Canada Day, friends!


Leave a Reply